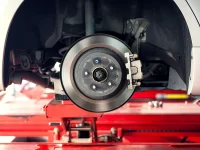
Cleaning A Carburetor In Eight Simple Steps!
You might require cleaning a carburetor for various reasons, but the more common reason is the harmful gas. The gas inside the carburetor can go wrong and get old, thickening and may cause the small parts to stick. It happens when you fail to run an engine frequently. For you know that your carburetor requires cleaning the gas smells like turpentine or lacquer thinner, or have other non gases. Therefore every driver needs to understand what is carburetor cleaner. Knowing how to reassemble and take apart the basic carburetor can save your money and time. The following eight guidelines will assist you on how to clean your carburetor.
- Remove air filter
To be on the safe side, turn off the fuel supply and disconnect the spark plug wire, next take off the air filter that is often inside or behind the airbox. Please take off the outer element and clean it with filter cleaners such as compressed air or yamalube biodegradable foam the air filter oil. Remove any dirt, sand, grease and tidy up the seal areas.
- Remove hoses and linkage.
Use pliers to remove these staffs, and take caution not to bend or break anything.
- Remove Carburetor
With the knowledge of what a Carburetor Cleaner is, you may now take out the nuts and bolts which hold the carburetor to the engine. Lightly shift the carburetor forth and back to pull it off the studs and break it loose, being careful of the orientations and locations. Then you may use paper towels or rags to plug any huge openings you ended up with to prevent dirt from getting in.
- Remove float
The float is the foremost thing to take apart when cleaning the carburetor, to take out the float bowl, unscrew four screws which are on the bottom of the carburetor taking care since they strip very quickly. Pull the float bowl off the carburetor, pull out the float pin using needle nose pliers then remove the float.
- Remove the jet
Removing jets will differ from different carburetors; the main jet is fat and flat. Will have a flat screwdriver or hex head, to remove the jet you must take out the plats; however, the jets are supposed to be taken out when cleaning.
- Remove other parts
In a carburetor, there are various items that one should take out to access the cleaning, watch for the springs and be aware of the locations. However, some parts like idle adjustment screws may not require to be taken out, if only there are on the outside carburetor body or mechanical.
- Clean parts and body insolvent
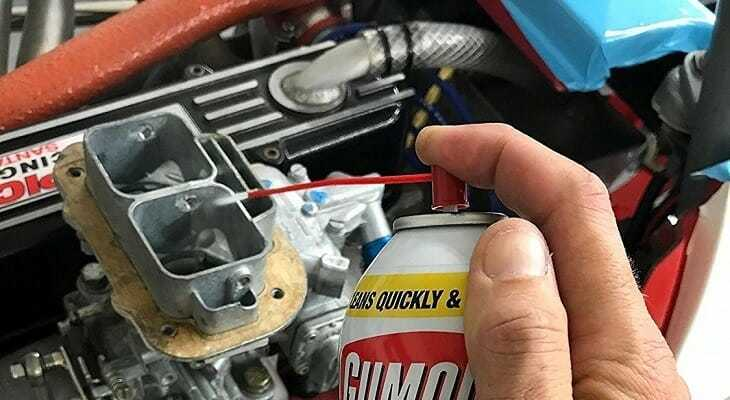
It is essential to take out O-rings and gaskets before tidying up the carburetor parts and the body, it is recommended that you should wear gloves and safety glasses when cleaning. The carburetor parts should be scrubbed using a wire brush and later splayed with choke cleaner and carburetor. Besides when splaying focus into the specific holes that air, jets, idle screws, choke and float needle came from, make sure when cleaning the jets you display them using splay cleaner into the holes. However, you may need to confirm if the jets are clean through looking them into the light to find whether the gap is clear.
- Dry the carburetor and reassemble
Ensure to remove all solvent from the carburetor after you are done with cleaning, clear the airflow areas and fuel using air. Make sure air dries completely, and then reverse all the steps you have taken to ensure everything is back together. Once the carburetor reunites together, it is mounted to the engine and all linkages and hoses get reattached. Ensure the spark wire is connected, and fuel and learn out.