How to Install Your Own Car Sticker
How to install your own car sticker ? Seeing how complicated it is to install stickers, I think it’s better to just leave it to the experts, hehe. But for those of you who want to feel how it feels, it doesn’t hurt to try, right?
How to install a car scotlet is the same term for our discussion this time. Indeed, there are still many consumers or customers who often refer to all types of sticker materials as scotlets.
Actually, with a little courage, you can actually do the job of installing car stickers yourself. By myself here I mean done without the help of a professional sticker. So you can do it alone, with the help of friends, wife, husband, brother and so on.
This time I explain how to attach the s ticker to a car with a dry system. The dry system is an installation without the help of water that has been mixed with shampoo. Oh yes, maybe some of you have heard of the term wrapping.
Wrapping means wrapping, so it is the same as installation, but is more generally defined as putting a sticker on a wider area, even the whole car body. The name also wraps.
Now, come to the main discussion which is very important. Read carefully because at the end of the article there will be a quiz with prizes for eating at the nearest restaurant. who pays? Yes alone. But If you can do it by yourself, you can use service from topdogwrapteam.com
Leave the Sticker Material
Because the sticker material can shrink when heated with a hotgun, it’s a good idea to leave a width of about 5 centimeters around so that the entire car body can be covered.
Even though it only does not cover two centimeters, but if the part is lacking in an area that is very easy to see and must be joined, the results are very bad. I start from either the right or left side of the car.
Spread the sticker material over the body, you can ask a friend or relative to help hold the other end. Then stick it on the car body, see if you think all the side bodies have been covered?
Use Magnetic Hook
If you’re sure it’s okay, take a magnetichook, which is a magnet specifically used to help attach the sticker material to the car body. The pressure is strong, very helpful if you have to wrap yourself.
Place the magnetic hook in the center of the left and bottom material so that the material does not shift. Also other corners to close perfectly. The use of this magnetic hook is very helpful when learning how to attach a full body car sticker.
Without a magnetic hook, you can also use insulation or sticker residue. When it comes to insulation, I prefer to use paper tape because it is resistant and easy to peel off again. If so, peel off the back of the sticker. What is peeled off is the back of the sticker right in the middle between the right and left.
Define Rubbing Prefix
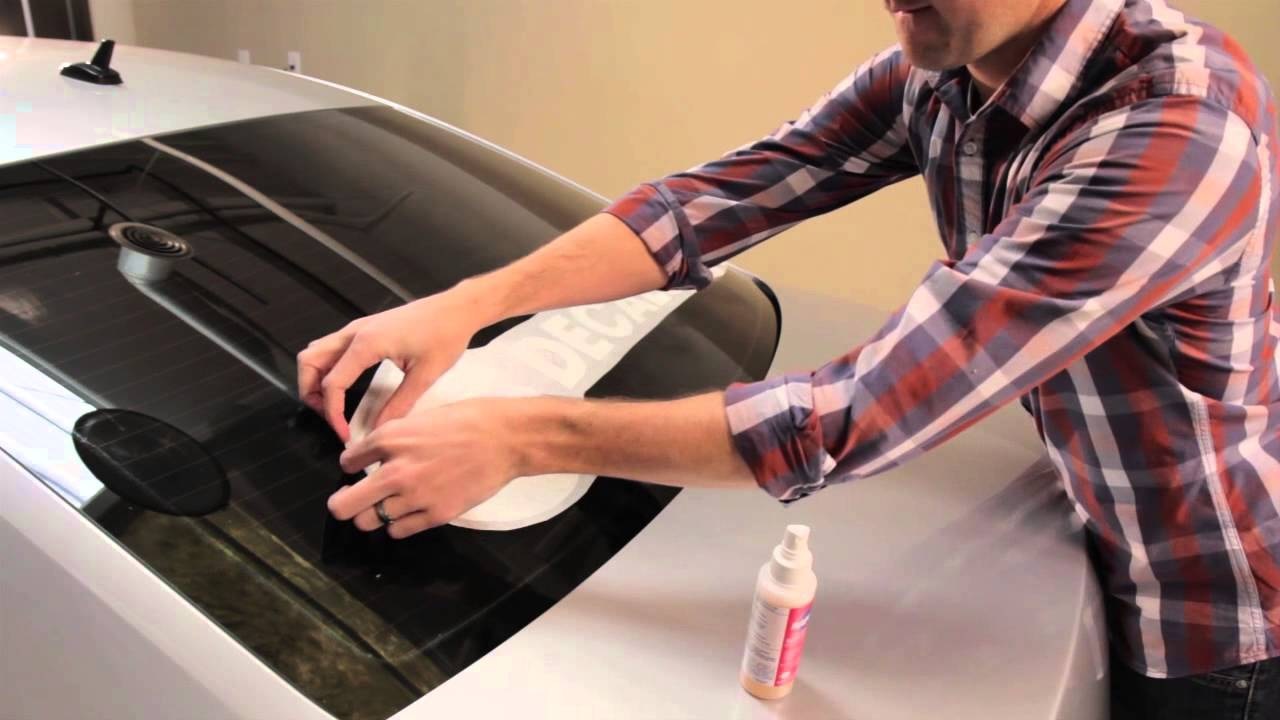
Peel the paper vertically about four or five centimeters wide. What is the point? To take the initial position of the wrapping. So starting from the middle, then sideways to the right or left is up to you. If the sticker material is affixed to the vertical center, it will be easier to do the process.
Next, peel off the sticker paper, either the right or the left side of the vertical benchmark. If accompanied, you can ask a friend to help hold the stretch of sticker material while you start rubbing with the rackel. Just take it slow, don’t miss it because it will cause bubbles (cold).
Stretch, Pull, Heat
Use regular movements when sweeping the surface of the sticker material. If your friend is a bit tired and the sticker material that has not been rubbed is attached to the body, don’t worry, the sticker material can be pulled again. That’s why a hotgun is needed so that when the sticker material accidentally sticks, it is pulled so that it becomes dull like kneaded paper, it will recover smoothly when heated by a hotgun.
Learning how to apply car stickers does take time. Because you have to understand the nature of the sticker material used. Using ordinary materials with premium materials will be handled differently. Like the level of heat that the hotgun must release.
The nature of the sticker material is easier to stretch than narrow, so take the narrower part towards a wider field. If you find an inward curved area, such as the inside of the side door handle, smooth the edges first, then heat the part of the sticker material that will be pressed inward following the curve earlier.
Unidirectional Rakel Movement
Try to move or rubbing pattern in the same direction, for example from top to bottom, or sideways with a direction out of the initial center of rubbing. This technique will work itself out later if you do it often.
Maybe even for professionals and experts or masters, this process can be short. Why do bubbles appear? Because you pass just a few millimeters when scrubbing, bubbles appear.
What if the bubble is in the middle while the wrapping process has reached the edge? Just let it pass later using the tip of a cutter knife.
Tidy up the rest of the ingredients
Finally, cut the remaining part of the sticker. For example, in a circle where the tire must form a semicircle or oval, follow the edge of the curve with a cutter knife. Then also cut the line where the door meets the body. It’s not difficult, just insert the tip of the cutter knife, you will feel the empty part.
Just follow the shape. Be careful not to get it out of the gap because the tip of your cutter blade could fry the sticker and hit the car paint.
Before I end, I will make a note, starting to rub the sticker for wrapping from the middle, which is very helpful when receiving job branding or stripping or other models that require symmetrical or left-right proportions. For plain full body wrapping, you can just start scrubbing from the edges.